Important:
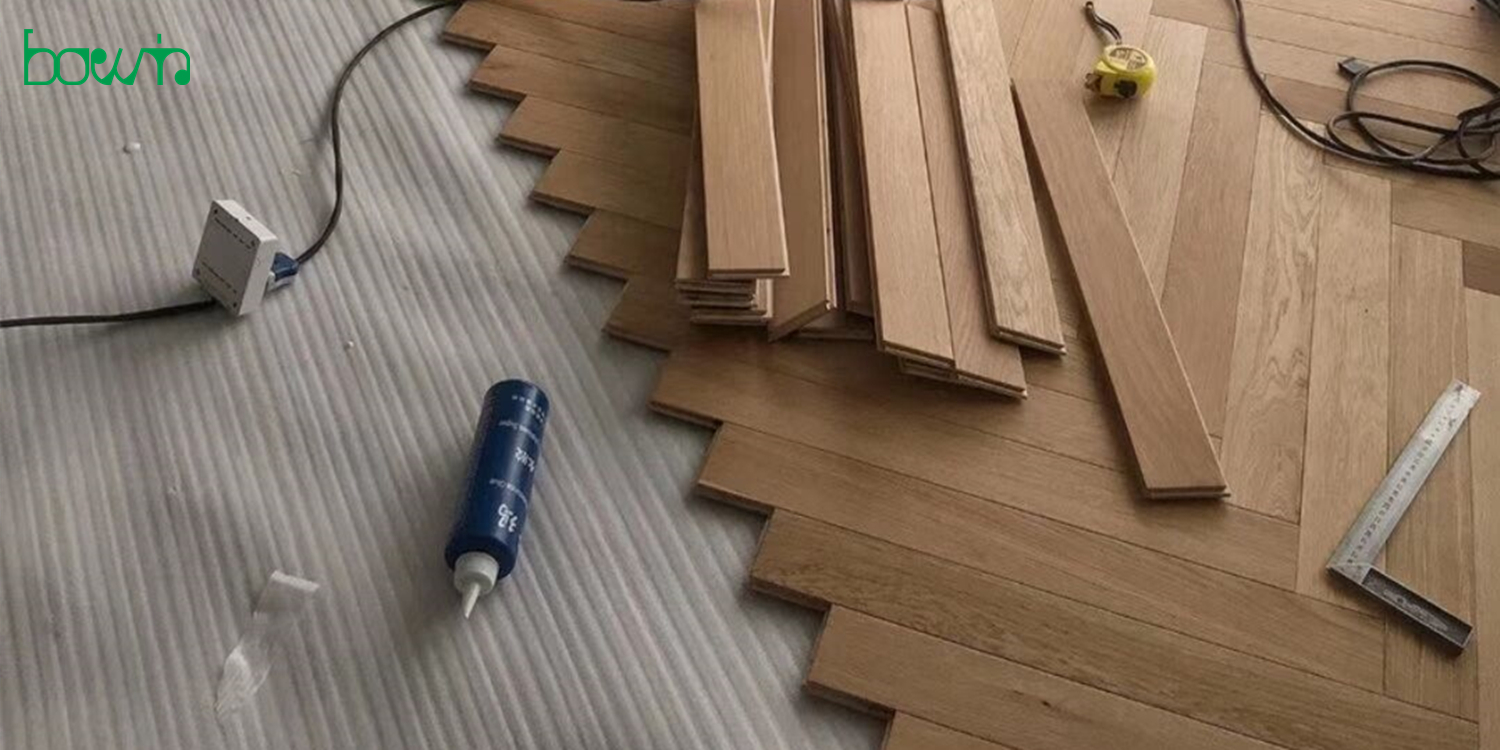
Precision is the key when installing Chevron flooring. Verify measurements and check row alignment frequently to endure the pattern is being laid accurated and evenly.
Installing GrandOak Chevron flooring requires high-degree technical ability and should be only performed by the qualified professional and experienced installers.
Proceed with a visual inspection of the boards before the installation. Once installed, the boards are considered accepted by the installer and the home owner.
Tools Required:

Before You Start:
This instruction is a GUIDE only.
All sources of moisture must be rectified prior to the installation of the floor, and moisture levels in rooms fitted with hardwood flooring should be maintained at a stable level; in line with normal living conditions. Any construction dampness (such as recently laid concrete slab, or wet paint) must be completely dry.
Calculate the total square meters of the space you are laying the floor and add 20% for cutting and waste due to its unique special design.
The cartons of floorboards should be stored in a protected dry place.
The boards should be placed in the room in which they are to be fitted to acclimatise for 48 hours and should be carefully stacked in their packaging to allow air to circulate.
Check each plank for any manufacturing defects prior to installation.
Preparation: Subfloors
The below requirements apply to all subfloor options detailed throughout this document, and must be paid careful attention in order to minimise the risk of problems occurring with your flooring post-installation.
The flooring can be installed onto concrete/screed subfloors and existing wood provided. they are dimensionally stable.
Deviations in any subfloor level must not exceed 3mm under a 3-lineal metre straight edge. Raised points must be sanded/ground down and depressions filled using a good quality cementitious levelling compound. Please engage a professional installer's services for these matters.
Ensure the subfloor is clean and free from all contaminants and loose material by vacuuming prior to installation. Do not wash subfloor or expose it to water prior to installation.
It is essential that the moisture content of any subfloor complies with the relevant standard. For many place conditions the recommended standard is a maximum of 4.8% for concrete/screed subfloors and 12% for wood subfloors. All potential sources of moisture (e.g. walls, drains, damp proof courses, plumbing, fridges, washing machines etc.) must be thoroughly checked and rectified if found to be an issue. The final responsibility for determining if the subfloor is dry enough for installation of the flooring lies with the installer. In almost all flooring installations, a moisture barrier will be required. What form of Moisture Barrier Membrane you should use will be dependent on the installation method and the sub-floor.
Moisture Barrier Membrane The levelled subfloor must be allowed to dry out completely before applying a suitable liquid Moisture Barrier Membrane.
Preparation of the slab: The concrete must be structurally sound, dry (no more than 4.8% moisture content), level and cleaned of waxes, adhesives dust etc. Slabs must be level with no more than a 3mm deviation over a 3-lineal metre radius. If deviations are greater than above, use a self-levelling compound or grind the slab to level the surface within the above tolerance. It is important to consider the possible risk of sub slab water ingress from surrounding areas. A relative humidity & moisture content reading is required prior to installation; please document readings for your records.
The moisture vapour content of a concrete/screed subfloor must not exceed 4.8%.
Please do not use Direct Stick method on any caulk concert slabs.
Existing concrete/screed bases' moisture content can be checked using a moisture meter, or alternatively sheets of polyethylene approximately 1m x 1m squared, taped onto the screed with a heavy weight placed on top for 24 hours. Presence of moisture in the screed will be confirmed if the screed is discoloured, or moisture is apparent on the underside of the polyethylene sheet. Your floor must not be fitted until the problem has been rectified. If installing on Wood. The moisture vapour content of a wood subfloor must not exceed 12%.
Flooring can be fixed directly onto pre-installed wood (particle board, yellow tongue, or conventional hardwood) provided this subfloor meets all of the requirements detailed at the beginning of the Subfloors section. If the subfloor is not flat and even, then you will need to overlay it with structural grade plywood (min 20mm thick). All existing floorcoverings must be securely fixed to the subfloor, to minimise the risk of squeaking. Where poor adhesion between the subfloor and existing boards, planks or tiles exist, secure if possible, otherwise remove the existing floorcovering completely.
On a wood subfloor, your new boards should be laid in a direction that is 90 degrees (perpendicular) to the direction of the boards below. If this is not possible, then plywood sheets (minimum depth 6mm) should be nailed, stapled or screwed to cover the existing floor, allowing a 15mm perimeter gap (against walls) for expansion. The new floor can then be laid directly onto the plywood sheet.
For a glue down installation onto a conventional strip timber, you will first have to lay a Masonite, particle board or yellow tongue underlay before the product. Once you have ensured that the subfloor is flat/even, and provided the moisture content of the subfloor does not exceed the specified 12%, you may gle down underlay onto the Masonite.